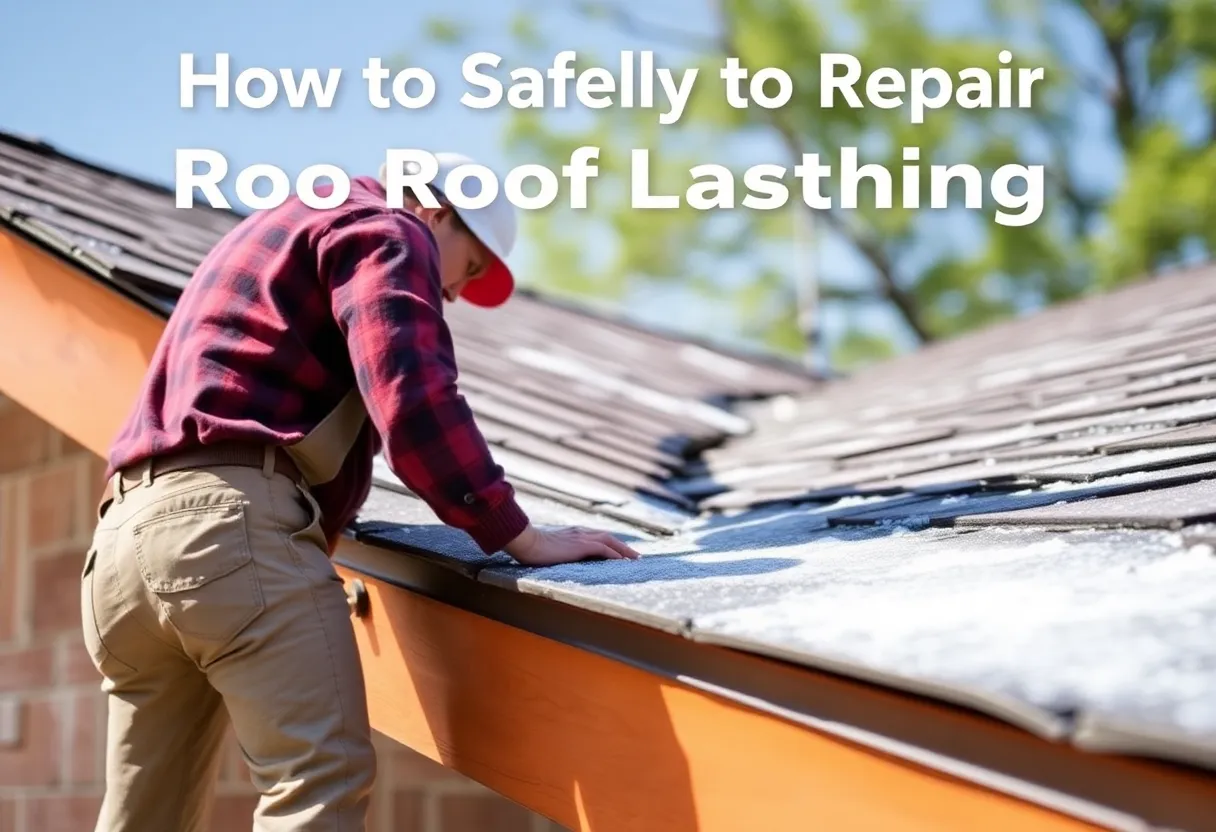
How to Safely Repair Roof Flashing: A Step-by-Step Guide for Homeowners
Roof flashing plays a crucial role in protecting your home from water intrusion. It directs water away from joints and seams, contributing to a sound roofing system. However, wear and tear can lead to damaged flashing, increasing the risk of leaks. This guide presents a comprehensive approach to safely repair roof flashing, ensuring your home remains protected.
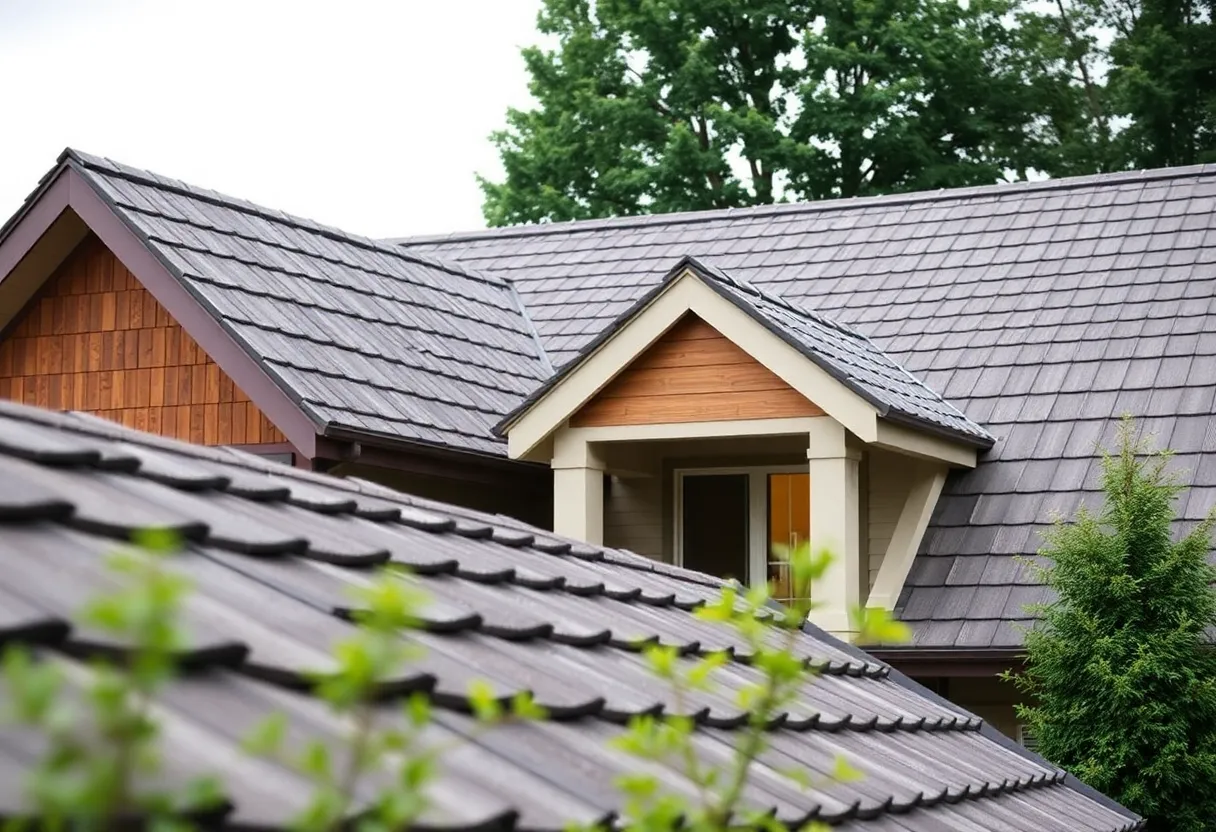
Understanding Roof Flashing
Roof flashing refers to the thin pieces of metal installed at joints and angles in a roofing system. Common flashings include:
- Base flashing – used at the base of chimneys and walls.
- Step flashing – needed where roof meets a wall.
- Counter flashing – installed over step flashing for added protection.
Each type of flashing serves a specific purpose and is integral in preventing leaks. Neglecting flashing repairs can lead to significant structural damage.
Identifying Flashing Issues
Before initiating repairs, it’s important to identify the issues. Common signs that indicate flashing problems include:
- Visible rust or corrosion on metal flashing.
- Cracked or detached seams.
- Water stains on interior walls or ceilings.
- Pools of standing water near flashing.
Once you’ve detected a problem, you can proceed with the necessary repairs.
Preparing for the Repair
Safety is paramount when repairing roof flashing. Here are the steps to prepare:
Gather Necessary Tools and Materials
Ensure you have the following tools and materials ready:
- Safety gear (gloves, safety glasses, and a hard hat).
- Ladder (extension ladder for reaching the roof).
- Roofing nails and sealant (silicone or roofing cement).
- Metal flashing (choose the correct type as required).
- Utility knife or tin snips for cutting flashing.
- Hammer or nail gun.
Assessing Weather Conditions
Plan your repairs for a dry day with mild temperatures. Wet or icy conditions can make surfaces slippery and increase the risk of accidents.
Step-by-Step Repair Process
1. Safety First
Before beginning work, ensure a secure ladder is in place. Always work with a partner when on a roof for added safety.
2. Locate the Damaged Flashing
Inspect the areas in question thoroughly. Look for detached seams or cracked sections. If the base flashing is damaged, inspect the surrounding roofing material for potential problems.
3. Remove Damaged Flashing
Utilize your utility knife or tin snips to cut away the damaged section. Use a hammer to remove any roofing nails holding the flashing in place. Take care not to damage surrounding roofing materials.
4. Prepare the New Flashing
Cut the new flashing to size, ensuring it overlaps existing materials appropriately. If you’re using metal flashing, ensure it is the correct gauge to withstand the weather conditions.
5. Install the New Flashing
Begin the installation by placing the new flashing in the same position as the removed piece. Secure it with roofing nails, ensuring the nails are correctly spaced and positioned.
6. Apply Sealant
Once the flashing is in place, apply roofing sealant along all seams and edges. This step helps to create a watertight seal and prevents future leaks.
7. Inspect and Test
After installation, inspect the flashing for proper alignment and secure fittings. Conduct a thorough test by checking for leaks during the next rainfall or using a hose to simulate rain.
Tips for Long-term Maintenance
To ensure your roof flashing remains in good condition, consider the following maintenance tips:
- Perform regular inspections of roof flashing, especially after severe weather.
- Clear debris from gutters and downspouts to prevent water pooling.
- Consider applying a protective coating to metal flashings to minimize rust.
When to Call a Professional
While many homeowners can handle minor flashing repairs, certain situations warrant professional intervention. Consider calling a roofing expert if:
- You are uncomfortable working at heights.
- Extensive damage exists requiring removal of shingles or structural repairs.
- Internal leaks are widespread or severe.
Taking a proactive approach can save you time and money in the long run.
Conclusion
Repairing roof flashing can be a manageable task for homeowners willing to put in some effort. By following these steps and maintaining awareness of the integrity of your roof, you can protect your home from water damage and prolong its lifespan. Always prioritize safety and don’t hesitate to enlist the help of professionals when necessary.