How to Successfully Install Roof Solar Panels: A Step-by-Step DIY Guide for Homeowners
Introduction
Installing solar panels on your roof can be a cost-effective way to harness renewable energy. This guide will provide you with the necessary steps to successfully install solar panels as a DIY project. By following this structured approach, homeowners can potentially save on installation costs and contribute to sustainability.
Benefits of Solar Panels
Before diving into installation, it is important to recognize the benefits solar panels offer:
- Energy Savings: Solar panels can significantly reduce your electricity bills.
- Increased Home Value: Properties with solar installations tend to have higher market values.
- Environmental Impact: Solar energy reduces reliance on fossil fuels and lowers carbon emissions.
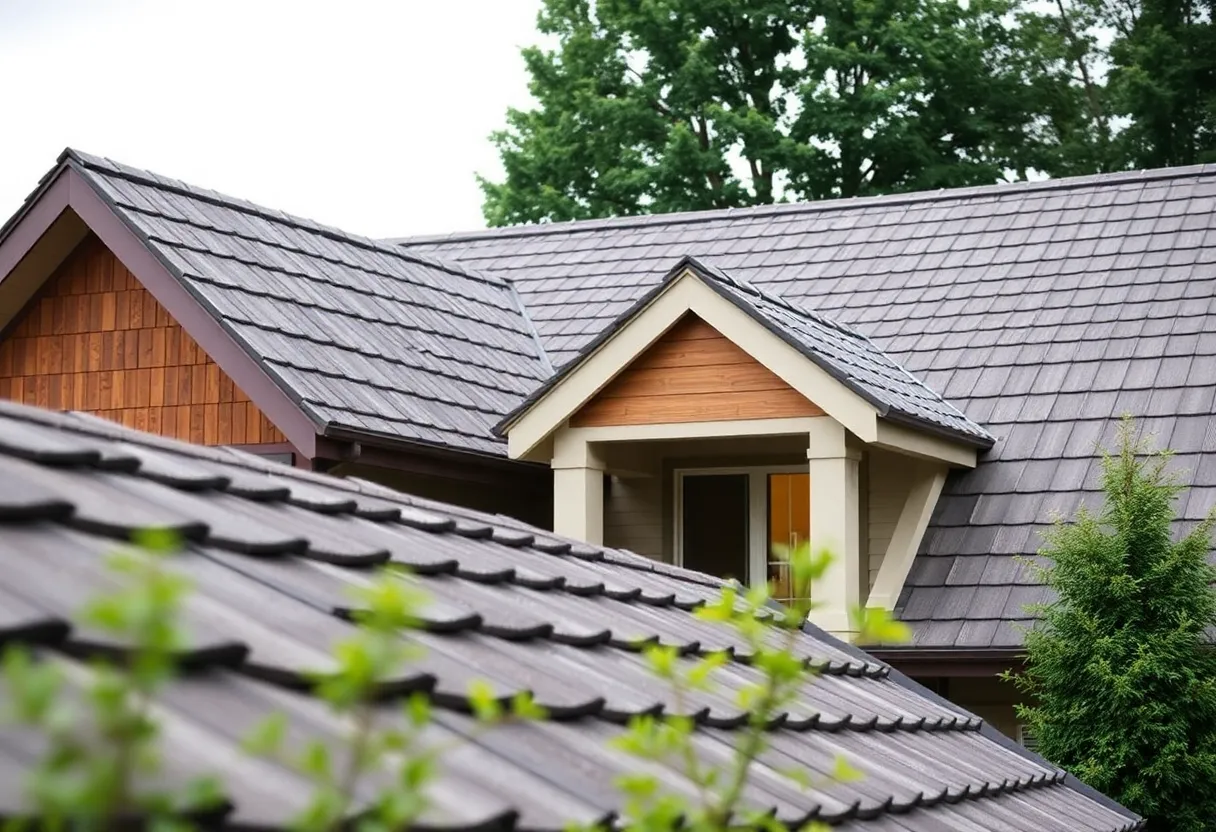
Step 1: Assess Your Roof Structure
Determine Roof Suitability
Before installation, assess your roof’s suitability. Look for the following:
- Orientation: South-facing roofs receive maximum sunlight.
- Condition: Ensure your roof is in good condition. Any necessary repairs should be completed first.
- Angle: Roofs with a slope between 15° and 40° are ideal for solar installations.
Check for Obstructions
Identify any obstructions such as chimneys, vents, or trees that may cast shade on your panels. Shade significantly reduces efficiency.
Step 2: Calculate Energy Needs
Understand your energy consumption. Analyze past utility bills to determine your average monthly usage. This will help you size your solar panel system appropriately.
Step 3: Choose the Right Solar Panels
Types of Solar Panels
Homeowners can choose between three main types of solar panels:
- Monocrystalline: More efficient, takes less space but often more expensive.
- Polycrystalline: Cost-effective and slightly less efficient than monocrystalline.
- Thin-film: Lightweight and flexible, suitable for unconventional roofs but less efficient overall.
Calculate Required Number of Panels
Based on your energy needs, estimate how many panels are necessary. Each panel typically generates between 250-400 watts.
Step 4: Gather Necessary Materials and Tools
Ensure you have all the materials and tools before starting:
- Solar Panels: According to your plan.
- Mounting Hardware: Rails, brackets, and anchors.
- Inverter: Converts solar power into usable electricity.
- Tools: Drill, wrench, ladder, and safety gear.
Step 5: Safety Precautions
Safety should be a priority during installation. Take the following precautions:
- Wear protective gear, including gloves and safety glasses.
- Use a sturdy ladder and ensure it is stable.
- Check weather conditions to avoid working in rain or high winds.
Step 6: Install Mounting Hardware
Locating Supports
Use a stud finder to locate roof rafters. Proper mounting is crucial for your panels’ longevity.
Install Rails and Brackets
Assemble and install the rails according to your panel’s instructions. Ensure they are level and secure.
Step 7: Attach Solar Panels
Carefully place solar panels onto the installed rails. Secure them using provided hardware. Follow the manufacturer’s specific instructions for mounting optical solar energy panels reliably.
Step 8: Install the Inverter
Mount the inverter in a shaded and ventilated area, ideally close to the main electrical panel. Connect the inverter to the array of solar panels. This component is crucial as it converts the solar energy into AC power.
Step 9: Connect the System to the Electrical Grid
Wiring Connections
Run wiring from the inverter to your main electrical panel. Make sure to adhere to relevant local electrical codes. The connections must be secure to prevent faults.
Consider Professional Assistance
If you are unsure about electrical connections or local regulations, it may be wise to hire a licensed electrician to check your work.
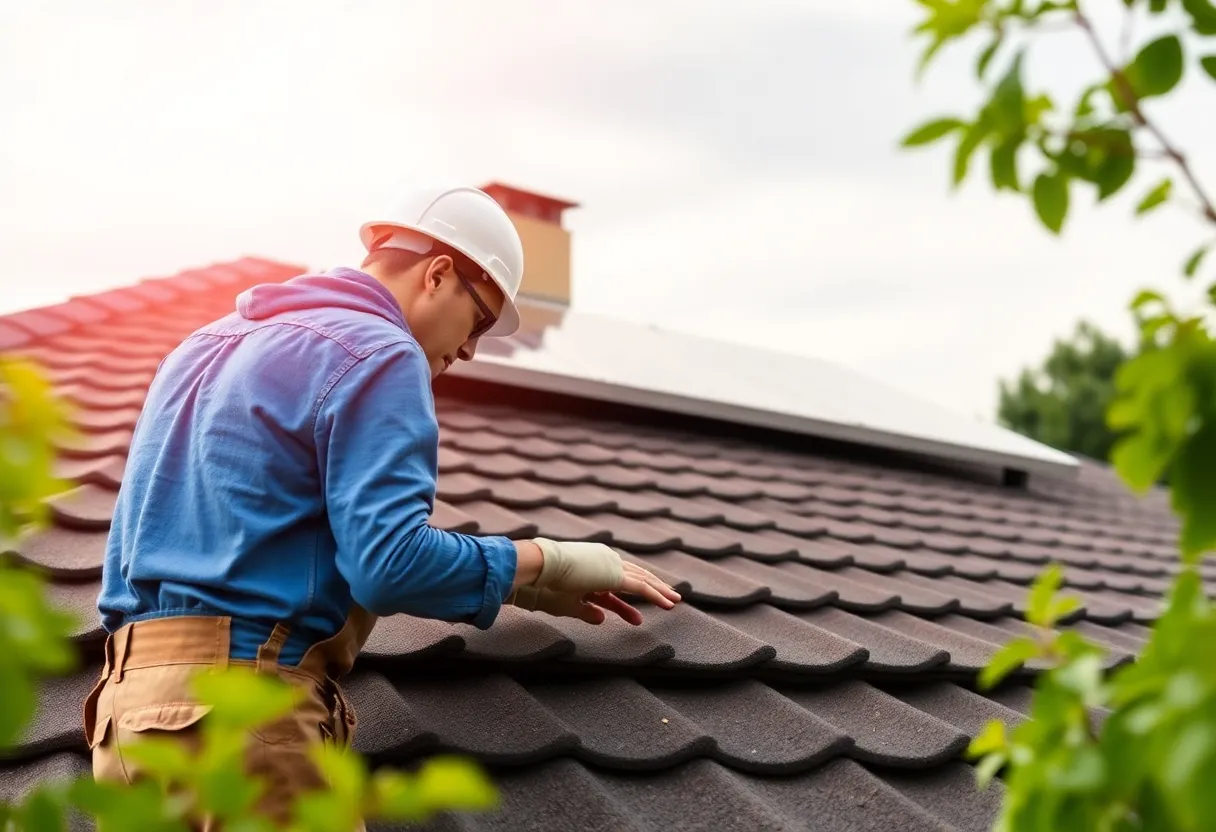
Step 10: Inspect Your Installation
After setup, inspect the system. Check for any loose connections, misaligned panels, or potential hazards. Proper inspection ensures functionality and safety.
Step 11: Monitor Your System’s Performance
Once operational, begin monitoring your system. Many inverters come with monitoring software to help users track energy production.
Step 12: Consider Maintenance and Upkeep
Regular maintenance will keep your solar panels in optimal condition:
- Cleaning: Dust and debris can reduce efficiency. Clean panels periodically.
- Inspections: Conduct annual inspections to look for damage or wear.
Conclusion
Installing solar panels can be an empowering DIY project for homeowners. With careful planning and adherence to safety guidelines, you can harness solar energy for your home. This guide offers a solid foundation, but always remember to seek professional help if necessary. Embrace the journey towards sustainable energy, and enjoy the savings that come with it!