What Are the Best Practices for DIY Roof Winterization?
Winter can pose serious threats to the integrity of your roof. Snow buildup, ice dams, and temperature fluctuations can lead to extensive damage if proper precautions are not taken. Therefore, winterizing your roof is essential for maintaining its longevity. In this article, we will explore the best practices for DIY roof winterization, ensuring that your roof is protected through the cold months.
1. Inspect Your Roof Regularly
Before winter sets in, conduct a thorough inspection of your roof. Look for these critical areas:
- Missing or Damaged Shingles: Check if any shingles are broken, curled, or missing. These spots can lead to leaks during snow melts.
- Debris Accumulation: Remove leaves, branches, and any other debris that can trap moisture. This is crucial for preventing mold and rot.
- Flashing, Gutters, and Vents: Inspect the metal flashing around chimneys, skylights, and vents for rust or gaps. Also, clean your gutters to allow proper water drainage.
2. Clean Your Gutters
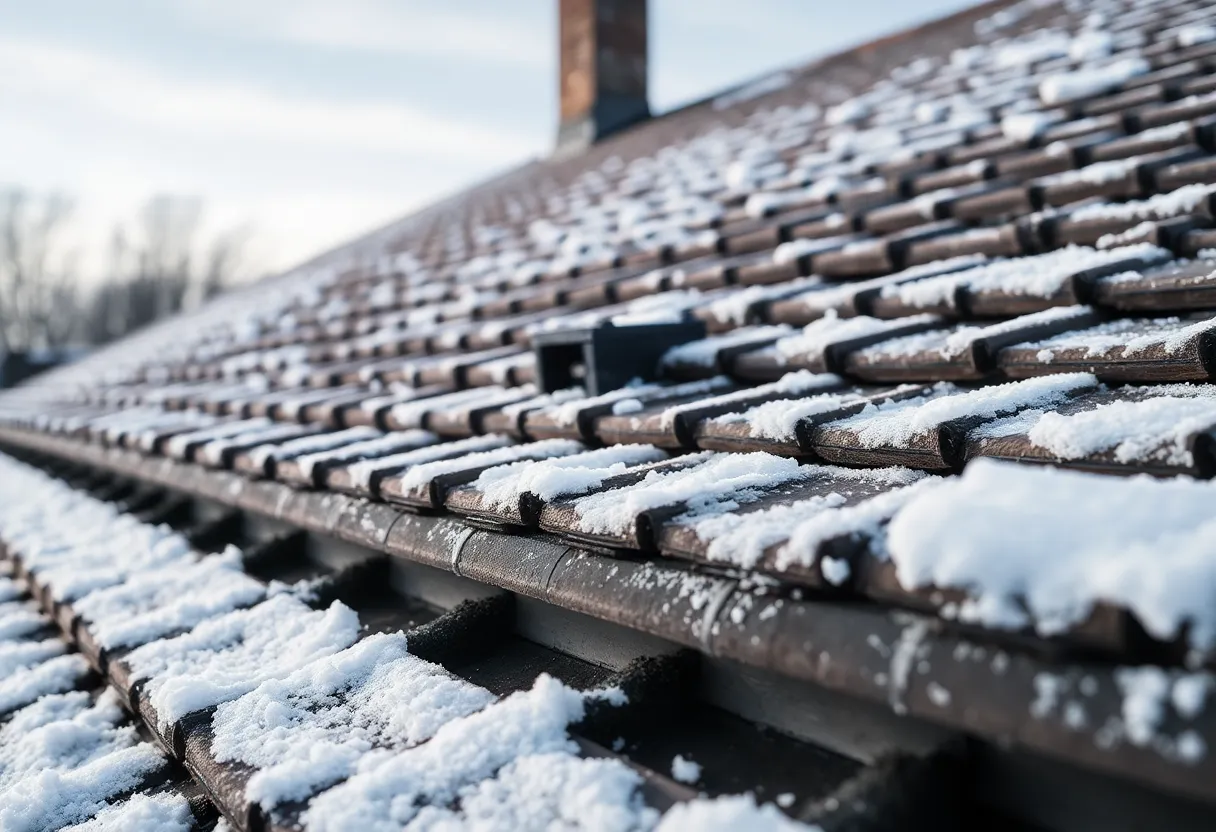
Clogged gutters can lead to serious issues, such as ice dams. Ice dams occur when snow melts on the roof, flows into the gutters, and freezes again. To prevent this:
- Clear Out Debris: Remove leaves, twigs, and other rubbish from your gutters.
- Check Downspouts: Ensure that they are free-flowing. Extend downspouts away from the foundation to avoid ice accumulation near the house.
3. Insulation and Ventilation
Insulation
Proper insulation in your attic can prevent heat loss, which in turn minimizes snow melt on the roof. Effective insulation prevents warm air from escaping, reducing the chances of ice dam formation. Ensure:
- Targeted Areas: Insulate around eaves and other places where cold air enters.
- Quality Materials: Use high-R-value insulation materials for optimal efficiency.
Ventilation
Good ventilation practices can enhance your roof’s lifespan. Adequate airflow helps in regulating temperature, which reduces heat buildup. To achieve optimal ventilation:
- Install Soffit Vents: These allow cooler air to enter the attic, promoting a balanced temperature.
- Ridge Vents: Use ridge vents to expel warm air from the upper part of your attic.
4. Apply a Roof Coating
A protective roof coating can offer an additional layer of insulation and waterproofing. Choose a product designed specifically for roofs, which provides:
- Enhanced Durability: A good quality coating can withstand harsh winter conditions and UV exposure.
- Water Proofing: Ensures that the roof remains sealed against moisture.
5. Conduct Structural Repairs
Addressing structural issues before winter is paramount. Issues like:
- Crooked Rafters: Misaligned rafters can cause uneven snow distribution, risking structural failure.
- Rotting Wood: Any rotting wood components should be replaced to prevent more significant problems.
6. Determine Snow Load Capacity
Understanding the snow load capacity of your roof is vital. Roofs can only hold a specific amount of snow before consequences arise. To protect your roof:
- Know Your Limits: Consult local building codes or an architect regarding your roof’s load capacity.
- Regular Snow Removal: If snow accumulation exceeds limits, use a roof rake to carefully remove it from the edge.
7. Install Ice and Water Shield
Consider adding an ice and water shield on the lower edge of your roof. This type of underlayment can greatly reduce leaks caused by ice dams. It adheres directly to the roof deck and offers a waterproof barrier against melting snow.
8. Prepare for Emergency Situations
Despite your best efforts, emergencies can occur. Prepare for potential issues with these measures:
- Emergency Repairs Kit: Keep a kit containing tarps, roofing nails, and caulk for temporary repairs.
- Contact Information: Have the contact details of local roofing professionals handy.
9. Regular Maintenance
Finally, regular maintenance throughout winter can prevent bigger issues down the line. This includes:
- Monthly Inspections: Regularly check for any new signs of damage or wear.
- Snow Management: Monitor snow levels and remove excess accumulation.
Conclusion
Winterizing your roof is a crucial step in maintaining your home’s integrity through the colder months. By following these best practices, you can protect your roof from harsh winter weather and costly repairs. Regular inspections, proper insulation, and timely maintenance are paramount in creating a robust shelter against winter elements. Take these steps seriously, and your roof will benefit greatly.