How to Effectively Incorporate Skylights into Your Roof Design: A DIY Guide
Skylights are an incredible way to enhance natural light in your home, improve energy efficiency, and boost the overall aesthetic appeal of your roof design. This DIY guide provides essential steps and considerations to effectively incorporate skylights into your roofing project.
Understanding the Benefits of Skylights
Before diving into the actual installation process, it’s crucial to understand the benefits of skylights. Skylights can transform any space, bringing the beauty of the outdoors inside.
- Increased Natural Light: Skylights allow natural sunlight to flood your home, which can significantly reduce energy costs.
- Improved Ventilation: Operable skylights can offer fresh airflow, improving indoor air quality.
- Aesthetic Appeal: A well-placed skylight can enhance the visual interest of your ceiling and provide stunning views of the sky.
- Energy Efficiency: By utilizing daylight, skylights can lower your reliance on artificial lighting.
Planning Your Skylight Installation
A successful skylight installation starts with thorough planning. Consider the following factors:
1. Choosing the Right Location
The placement of your skylight is critical. Consider areas that require additional light, such as:
- Bathrooms
- Hallways
- Living rooms
- Kitchens
Make sure your selected location will not disrupt structural elements like rafters or electrical wiring.
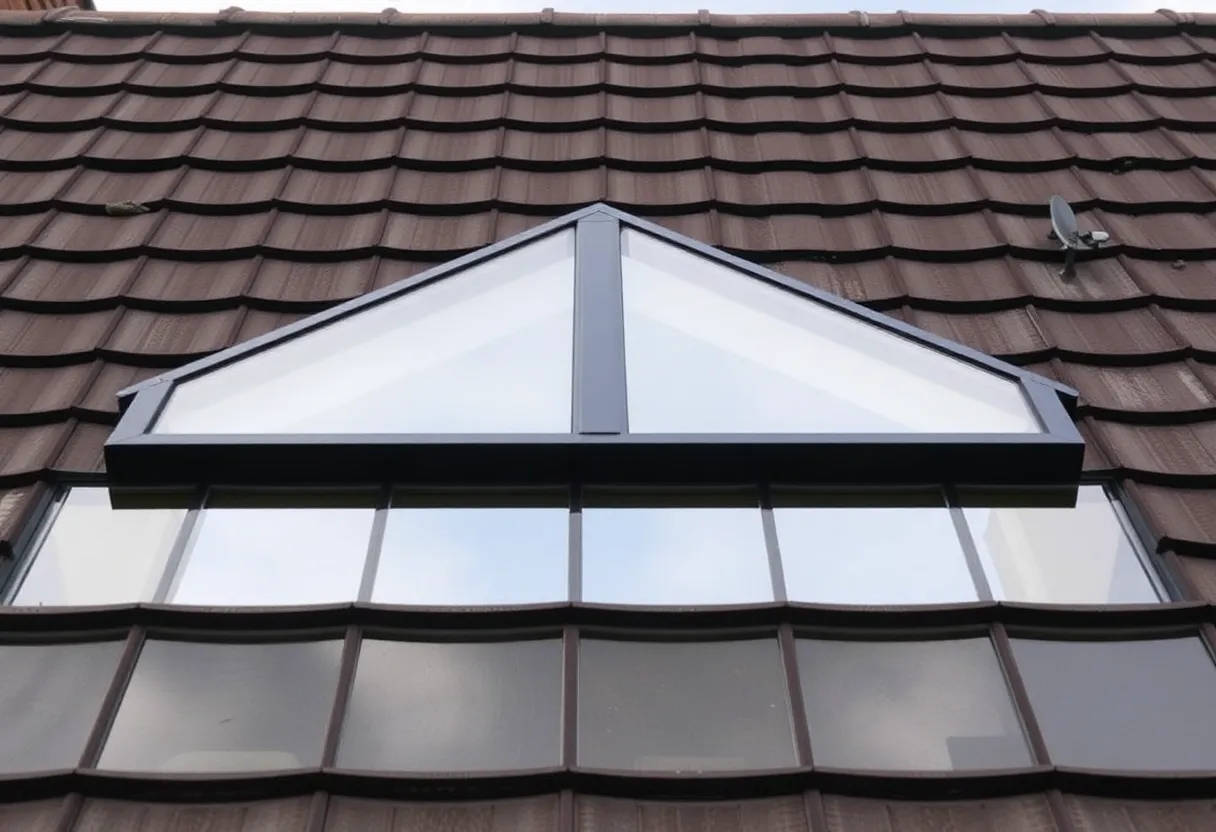
2. Selecting the Right Type of Skylight
Skylights come in various types, each with its unique features:
- Fixed Skylights: Ideal for adding light without ventilation.
- Ventilated Skylights: Can be opened for airflow, which helps eliminate humidity.
- Tubular Skylights: Perfect for small spaces and can be installed in less traditional spots.
3. Assessing Roof Structure
Understand the pitch and material of your roof. Certain skylight models better suit specific roof types, such as sloped, flat, or curved roofs. Ensure your roof can support the additional weight and potential water flow from the skylight.
Tools and Materials Required
Before beginning your installation, gather the necessary tools and materials:
- Safety Gear: Ladder, harness, goggles, gloves
- Tools: Circular saw, drill, screwdriver, measuring tape, level
- Materials: Skylight kit, flashing materials, waterproof sealant, roofing materials to match your existing roof
Step-by-Step Installation Process
Follow these detailed steps for a successful skylight installation:
1. Mark the Skylight Position
Use your measurements to mark the location for the skylight. It’s essential to double-check measurements to ensure accuracy.
2. Cut the Roof Opening
Carefully cut the roof sheathing according to your marked outline. Use a circular saw for clean edges.
3. Install the Skylight Frame
Follow the manufacturer’s guidelines to install the skylight frame into the opening. Ensure it’s level and secure it in place.
4. Flashing Installation
Proper flashing prevents leaks. Install flashing according to the recommended guidelines, which may vary based on the manufacturer.
5. Seal the Skylight
Apply waterproof sealant around the edges of the skylight frame and flashing. Ensure no gaps are present to avoid water infiltration.
6. Install Interior Trim
Finish the install by adding interior molding or trim to conceal any rough edges and match your home’s décor.
Post-Installation Considerations
After successful installation, consider the following:
1. Routine Maintenance
Regularly clean your skylights to maintain their clarity. Check seals and flashing for wear and tear to prevent leaks.
2. Assessing Energy Efficiency
Pay attention to how your skylights impact heating and cooling costs. Proper shading or using energy-efficient glass can optimize performance.
3. Planning for Seasonal Changes
Different seasons may affect how much light enters through your skylights. Be prepared to make adjustments, such as installing shades or screens during peak sunlight hours.
Common Challenges and Solutions
While installing skylights can be rewarding, challenges may arise. Understanding these can help you better prepare.
1. Leaks and Water Damage
Inadequate sealing can lead to leaks. Always ensure proper flashing and sealing techniques are followed.
2. Excessive Heat or Glare
Consider using tinted or Low-E glass to reduce glare and heat from direct sunlight.
3. Structural Limitations
Consult a structural engineer if you encounter unexpected obstacles. Ensuring that your home can support the skylight is essential.
Conclusion
Incorporating skylights into your roof design can significantly brighten and enhance your living space. With careful planning, the right tools, and a methodical approach, you can successfully install skylights that will provide years of enjoyment. Remember to consider your home’s design, maintenance needs, and overall energy efficiency when planning your project. Investing time and effort into this DIY endeavor can contribute to a more vibrant and inviting atmosphere in your home.